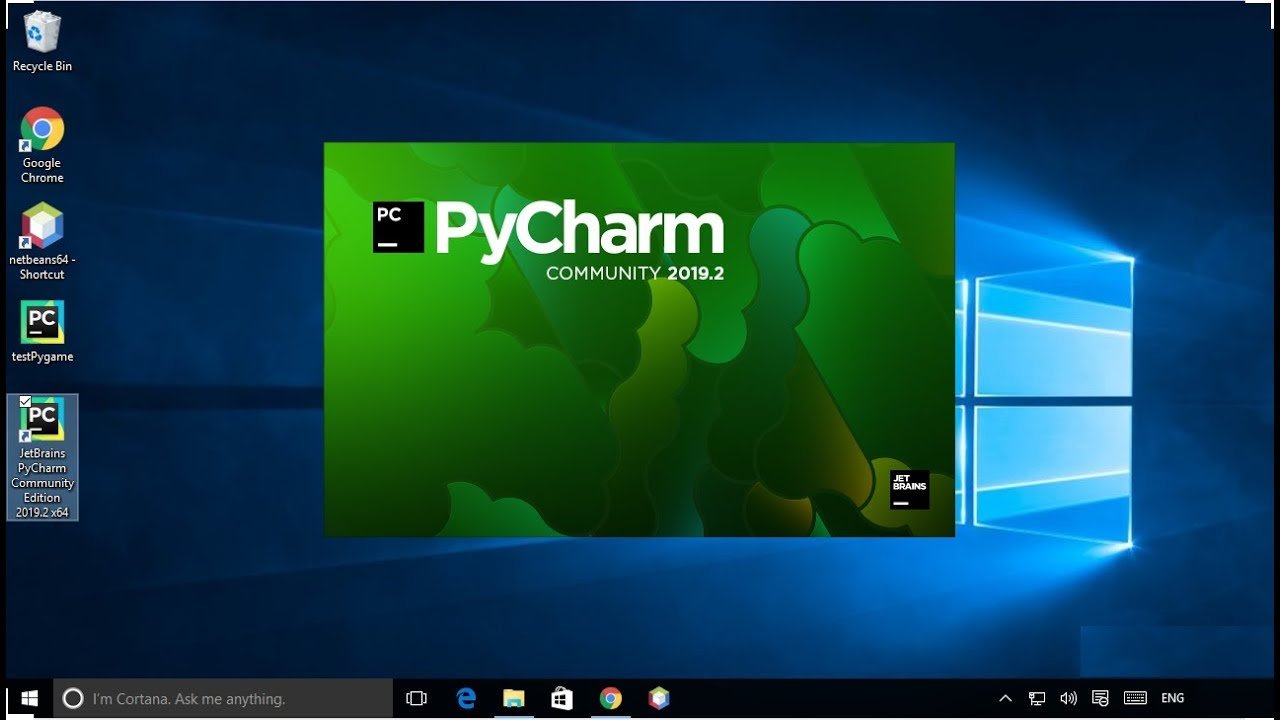
Python is a popular programming language known for its simplicity and versatility. To start coding in Python, it is essential to have the right development environment. This blog will guide you through the step-by-step process of installing Python setup using PyCharm in Windows. By the end of this tutorial, you will be ready to write and run Python code efficiently.
Step 1: Downloading PyCharm
Visit the PyCharm official website and download the Community (free) version of PyCharm for Windows. Once the download is complete, run the installer.

Step 2: Installing PyCharm
Double-click the downloaded installer file to begin the installation process. Follow the instructions provided by the installer. Leave all the default settings as they are unless you have specific preferences. Once the installation is complete, launch PyCharm.

Step 3: Creating a New Project
When PyCharm launches, you’ll see a Welcome screen. Click on “Create New Project” to begin.

Step 4: Setting Up Project Interpreter
In the “New Project” window, you need to specify the project name and location. Additionally, you’ll have to set up the project interpreter, which is responsible for executing your Python code. Click on the “Interpreter” drop-down menu and select “New Environment.”

Step 5: Selecting Python Interpreter
In the “Add Python Interpreter” window, you’ll have the option to choose the base interpreter or an existing interpreter. If you already have Python installed on your computer, select the existing interpreter. Otherwise, choose the base interpreter and click on the “OK” button.

Step 6: Creating a Python File
Once you’ve set up the project and interpreter, you’ll be taken to the PyCharm editor. Right-click on the project name in the Project pane on the left side and choose “New” -> “Python File.” Give your file a name and click on the “OK” button.

Step 7: Writing Python Code
In the newly created Python file, you can start writing your Python code. PyCharm provides various features like code completion, debugging, and version control integration, making your coding experience seamless and efficient.

Step 8: Running Python Code
To run your Python code, simply click on the green arrow icon in the toolbar, or right-click inside the Python file and choose “Run.”
Step 9: Viewing Output
The output of your Python code will be displayed in the Run tool window at the bottom of the PyCharm workspace.

Installing Python setup using PyCharm in Windows is a straightforward process that allows you to start coding in Python quickly. PyCharm provides a feature-rich environment that enhances your productivity and makes the development process efficient. By following the steps outlined in this blog, you are now ready to begin your Python coding journey. Happy coding!
Related Topics:
- Step-by-Step Guide: How to Install Windows using a USB Drive
- How to write a paper using ChatGPT and Quillbot software?
- What is Artificial Intelligence (AI) or Deep Learning or Machine Learning?
- Top Agriculture Drones Using AI
- How to use free ChatGPT in an unauthorized country?
- Sophia Robot like a Human
- 25 Top Artificial Intelligence (AI) Apps
- Top 10 Free Video Editor Tools 2023

